
Choose Iris or OptiFine before downloading shaders
A shader pack does not add the shader menu by itself. Minecraft needs a renderer that implements shader support. For Fabric installations, Iris is the common modern choice and is often paired with Sodium for performance. OptiFine provides another path, especially for setups built around its feature set.
Do not place Iris, OptiFine and unrelated renderer replacements together unless their documentation explicitly supports that combination. Rendering mods touch the same parts of the game and are frequent sources of conflicts.
- Choose the target Minecraft version first.
- Use Fabric plus Iris for a common modern setup.
- Use the correct OptiFine release when following the OptiFine path.
- Confirm other performance mods are compatible with the renderer.
| Renderer | Typical setup | Important note |
|---|---|---|
| Iris | Fabric, often with Sodium | Match Iris, Fabric and Minecraft versions |
| OptiFine | OptiFine profile or documented Forge setup | Can conflict with renderer-changing mods |
| Shader pack only | No renderer | Will not create a shader menu |
Use the renderer's official source
Avoid EXE files claiming to be one-click shader packs. Normal shader packs are commonly ZIP archives, while renderer installers should come from the renderer project.
Create a shader-ready SKlauncher profile
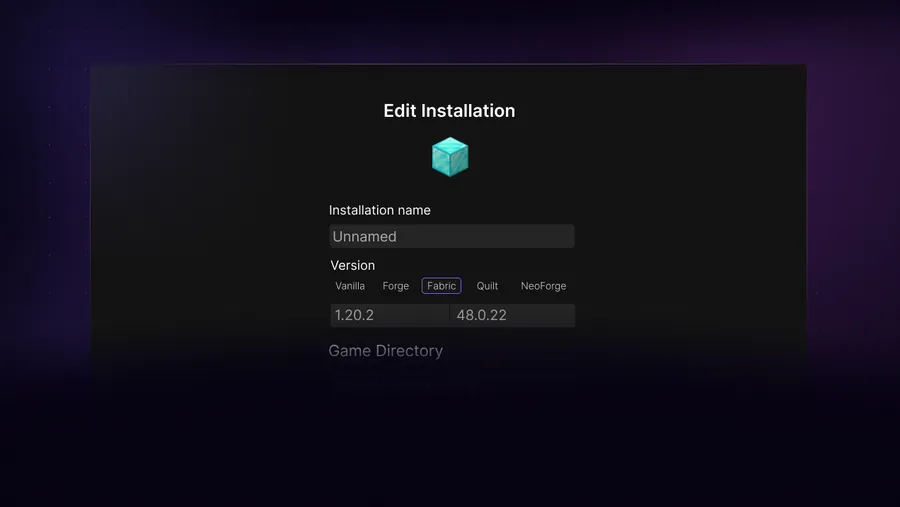
Create a dedicated installation for the selected Minecraft version. For Iris, create or select the matching Fabric profile and install the required renderer components. Launch the profile once without a shader pack and confirm the game reaches the main menu.
For OptiFine, follow the release instructions for the exact Minecraft version. Some Forge combinations require special compatibility steps, and not every OptiFine release works with every Forge build. A separate profile keeps renderer tests from breaking a modpack that already works.
Choose Minecraft version
Lock the exact game release used by the shader renderer.
Install the renderer
Use Iris/Fabric or an appropriate OptiFine setup.
Launch without a pack
Confirm the shader menu exists and the base renderer works.
Close the game
Add the shader pack only after the renderer profile is stable.
Put the shader pack in the correct folder
Download the shader pack release made for your renderer and Minecraft version. Keep the pack as a ZIP unless its author specifically instructs you to extract it. Open Minecraft's Video Settings or Shader Packs screen and use its folder button when available; this is safer than guessing a global path.
The folder belongs to the game directory for the active SKlauncher profile. A profile using a dedicated directory has its own shaderpacks folder. Copying the ZIP into a different global .minecraft directory will make it invisible to that profile.
Download from the pack author
Select the correct release and avoid repack sites.
Open Shader Packs
Use the in-game folder button to reveal the active directory.
Copy the ZIP
Do not extract it unless the author says otherwise.
Enable and wait
The first compilation can take time; watch for an error instead of clicking repeatedly.
Back up settings before large changes
Shader packs normally do not modify worlds, but renderer and mod changes can destabilize a modpack. Keep a copy of the working profile configuration.
Fix low FPS, black screens and shader errors
Start with the lowest shader preset, reduce shadow distance and render distance, and disable expensive effects such as volumetric lighting, high-resolution shadows and depth-of-field. Laptop users should confirm Minecraft is using the discrete GPU when one is available.
A black screen, failed compilation or missing texture can mean the shader pack does not support the renderer, GPU driver or Minecraft version. Read the shader log and test a lightweight known-compatible pack. Updating every mod at once makes the failure harder to isolate.
| Problem | First action | Next check |
|---|---|---|
| Low FPS | Use low preset and shorter shadows | GPU selection and drivers |
| Shader menu missing | Confirm Iris or OptiFine loaded | Profile and mods folder |
| Compilation error | Test a compatible pack | Renderer and game version |
| Black screen | Disable the pack | GPU driver and conflicting mods |
Shaders on macOS and lower-end hardware
macOS graphics support differs from Windows and Linux, and Apple Silicon behavior also varies by Minecraft and renderer version. Choose a lightweight pack that explicitly documents macOS support. High-end showcase settings can be impractical even when the pack technically loads.
Integrated graphics and older GPUs benefit from modest render distance, lower shadow resolution and disabled post-processing. A stable 40-60 FPS configuration is more useful than a cinematic preset that overheats the device or makes input inconsistent.
- Start with a lightweight shader pack.
- Test in a new world before opening an important save.
- Monitor temperature and sustained performance, not only the first minute.
- Keep a no-shader profile for troubleshooting.
SKlauncher shader compatibility checklist
A dependable SKlauncher shader profile starts with one renderer. Choose Iris for a common Fabric setup or use the OptiFine path documented for the exact Minecraft version. Launch that renderer without a shader pack first. This proves the loader and rendering stack work before a SKlauncher shader ZIP adds compilation and GPU variables.
Download each SKlauncher shader pack from its author and keep the ZIP intact unless the instructions explicitly require extraction. Use the in-game folder button to open the active profile's shaderpacks directory instead of guessing a global path. Enable the SKlauncher shader on a low preset, then raise shadow distance, render distance and post-processing settings one change at a time. If a black screen appears, disable the pack, save the log and confirm the renderer, pack, Minecraft version and graphics driver before trying another file. Use this SKlauncher shader guide to verify the renderer first. The SKlauncher shader guide keeps the original ZIP intact. Return to the SKlauncher shader guide when a driver or pack update changes rendering. Use this SKlauncher shader guide to verify the renderer first. The SKlauncher shader guide keeps the original ZIP intact. Return to the SKlauncher shader guide when a driver or pack update changes rendering.
- The SKlauncher shader compatibility checklist keeps one renderer per profile.
- The SKlauncher shader compatibility checklist matches Iris, Fabric and Sodium releases.
- The SKlauncher shader compatibility checklist starts with a lightweight pack.
- Retain a no-shader profile for world access and troubleshooting.
SKlauncher shaders FAQ
Can I download shaders directly in SKlauncher?
The workflow depends on the launcher version. You still need a compatible renderer and a shader pack made for the selected Minecraft version.
Should I use Iris or OptiFine?
Iris is a common modern choice for Fabric and often pairs with Sodium. OptiFine is an alternative with its own compatibility constraints.
Do I extract the shader pack ZIP?
Usually no. Place the ZIP in the active profile's shaderpacks folder unless the pack author says otherwise.
Why is the shader pack not listed?
Check that the renderer loaded, the ZIP has the expected internal structure, and you copied it to the shaderpacks folder of the active profile.
How do I install shaders on SKlauncher for Mac?
Use a supported renderer for the selected Minecraft version, choose a macOS-compatible lightweight pack and place its ZIP in the active profile's shaderpacks folder.
Sources and verification
This guide uses current first-party information checked on July 13, 2026.
Iris Shaders OptiFine downloads First-party SKlauncher downloads